 frequently asked questions
How do I get rid of the pop up message telling me that there is a new version of pdfMachine available?
In the pdfMachine options, on the General tab there is a check-box "Weekly online check for new version". If you remove the check from this box you won't be prompted when a new version of pdfMachine is available. You can also create a customized installer with this turned off.
Why is there a change in the user interface of the pdfMachine viewer?
In viewer mode pdfMachine displays the PDF in an embedded browser window. In old versions of pdfMachine this was an Internet Explorer based window and the PDF was displayed by the default PDF viewer for Internet Explorer. As Internet Explorer is at its end of life pdfMachine now embeds a Microsoft Edge WebView2 based window in the Viewer. The PDF is displayed by WebView2.
pdfMachine does not have a print function. If the embedded browser in the pdfMachine Viewer has a print button it is that which performs the print function.
Why does my PDF open outside of the pdfMachine window?
If you are opening a PDF or printing to pdfMachine and the PDF is displaying in a standalone Adobe Reader window rather than inside the pdfMachine window then there could be one of two things happening:
(1) You may have your Next Action set to "Launch Default PDF Viewer". If Acrobat Reader is your default viewer then the PDF will be displayed in Adobe Reader. If you want it to display inside pdfMachine then change your next action to be "Launch pdfMachine Viewer".
(2) You have an older version and Acrobat Reader has been configured on your PC to open outside the browser. You can either upgrade to the current version of pdfMachine. Or you will need to first enable the Acrobat Reader add-on in Internet Explorer.
Start by doing an Acrobat Reader Repair in Windows Add and Remove Programs. This may be enough to fix it in itself,
- Launch Internet Explorer
- Go to tools->Internet options>Programs>Manage add-ons
- On the left hand side select "all add-ons" under show.
- Disable the Adobe PDF reader Add on
- Restart Internet explorer
- Follow the same process this time enabling it.
Adobe has a link that tells you how to set it up if you have Adobe Reader XI here. You may also need to change the Adobe Reader Preferences and enable the "Display PDF in Browser" option on the Internet menu item. Some users find it necessary to perform a settings reset in IE to resolve this issue [Tools > Options > Advanced > Reset].
How do I stop pdfMachine offering to email PDFs which cannot be opened?
When pdfMachine is unable to open a PDF a message is displayed offering the user to email it to Broadgun Software for analysis. Somebody from Broadgun Software will reply to let you know what the problem was and whether there is a solution.
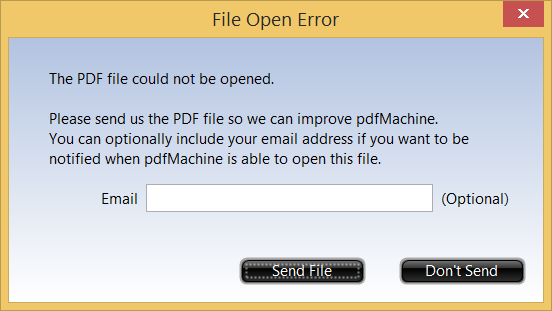
If you do not want this message to appear you can modify the registry entry:
HKEY_CURRENT_USER\Software\pdfMachine\BroadGun pdfMachine\showSendFileHomeDlg
Set it to 0 to prevent the dialog displaying, or to 1 to allow pdfMachine to display the dialog.
Warning : you should not modify the registry unless you know what you are doing. You should back up the registry first.
How do I set Windows to open PDF files using pdfMachine by default?
To set up pdfMachine as an option for Windows to open PDF files you need to make pdfMachine the default program for the .pdf file type.
Follow the instructions for the Windows operating system you are using. You will need to associate the pdfMachine viewer (file: bgsview.exe) with the file type .pdf. The path will be :
On 32 bit systems : "C:\Windows\System32\spool\drivers\w32x86\3\bgsview.exe".
On 64 bit systems : "C:\Windows\System32\spool\drivers\x64\3\bgsview.exe".
Another way of finding the pdfMachine viewer program is to look at the properties of the pdfMachine program icon to find the location.
This article on the lifewire website has a helpful article describing how to set up default programs.
Windows 7 : Microsoft Help
Windows 8 / 10 : Type 'default' into the Start menu.
Select "Choose default applications by file type"
Scroll down to .pdf
Click on the .pdf row and select pdfMachine.
If pdfMachine is not there as an option then do the following first :
From Windows Explorer, right-click on a file with the .pdf extension and select the Open With menu option
Select "Choose Another App", Select "More Apps", Select "Choose an app on this PC"
Using the Open With dialog provided, navigate to the correct directory and choose the file bgsview.exe and select Open.
Now you will be able to find pdfMachine in the list of apps at "Choose default applications by file type"
How do I create a custom page size?
Windows 7:
Go to Control Panel
- Administrative Tools
- Print Management
- Printer Servers
- [computer name]
- Forms, Click on "Action menu | Manage Forms "
How can I run a batch file in "Next Action" command line?
To specify a batch file or script to execute upon PDF generation, bring up the pdfMachine options and select 'Next Action/ Email' then set 'Next Action' to 'Execute command line'.
New limitations in Windows have made it so that batch files will only run if you pipe the output to
another file.
For example, you can set the command line to "cmd /c c:\YourName.bat %s > c:\YourNameOut.txt".
The %s is substituted with the name of the pdf file produced, and any output from your batch file is
sent to c:\YourNameOut.txt.
Alternatively, you can run other executables, including cscript.exe such as .
cscript.exe c:\touchx.js "%s"